
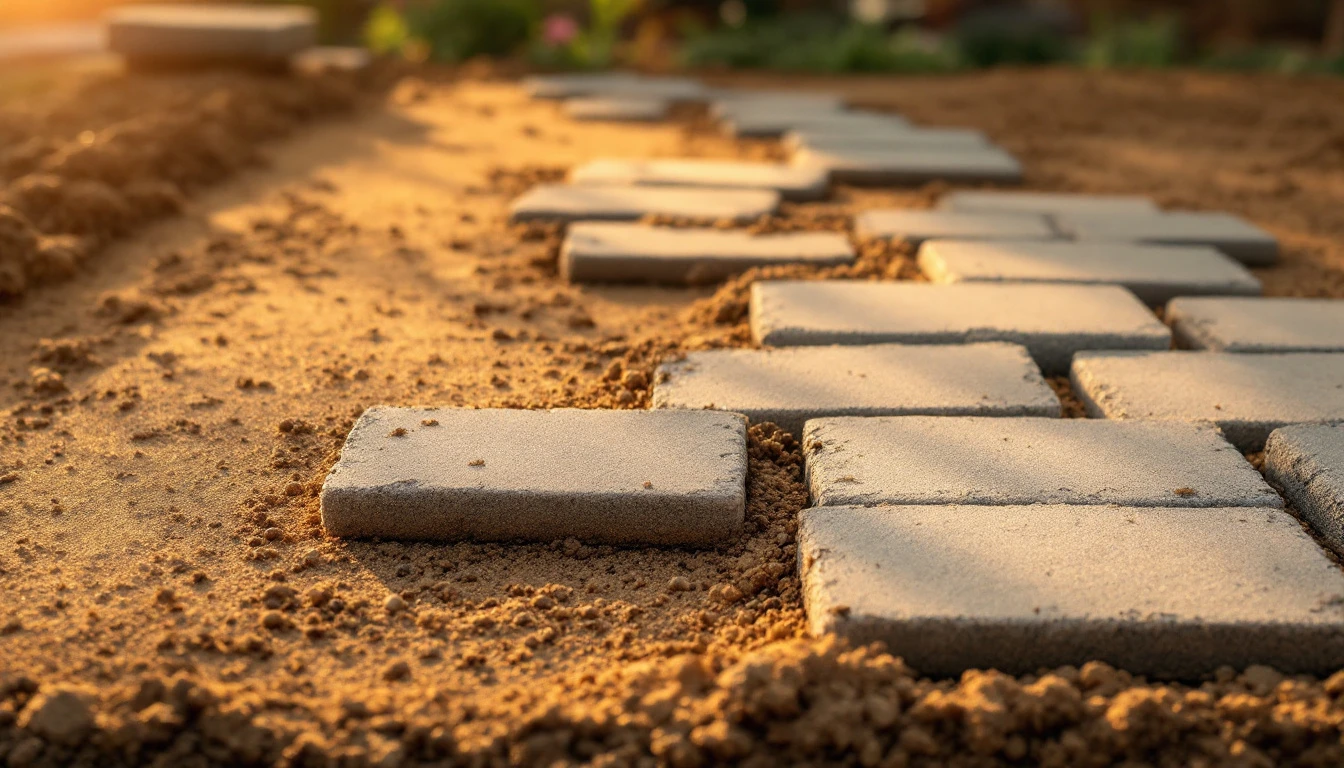
Anyone who's watched a concrete driveway crack apart after one hard winter understands why pavers have become the go-to choice for homeowners who want something that holds up. They flex instead of fracturing, they drain better than a solid slab, and if one paver gets damaged, you pull it out and drop in a new one instead of jackhammering half your driveway. But a paver driveway is only as good as the work that goes into it before the first stone ever gets set. Rush the base, skip a compaction pass, or eyeball the drainage slope, and you'll be dealing with sunken pavers within a year or two. This guide walks through what actually happens in a driveway that's built to last, not just look good on installation day.
Why Pavers Beat Concrete and Asphalt
It comes down to a few practical advantages:
- They carry vehicle weight well without cracking under pressure
- Damaged sections can be swapped out individually, no need for full resurfacing.
- Water moves through the joints instead of pooling on top
- You get real choices in color, shape, and layout
Homeowners in places with harsh winters especially lean toward pavers, since the freeze-thaw cycle that destroys poured concrete has much less effect on a jointed paver surface.
What You'll Need Before You Start
Cutting corners on materials is one of the fastest ways to end up redoing this job in a few years. At minimum, you'll want:
- Concrete or clay pavers
- Crushed stone for the base
- Bedding sand
- Edge restraints
- Jointing sand
- A plate compactor
The base material matters more than most people expect. It is going to load once the driveway is finished, so this isn't the place to buy cheap.
Step 1: Get the Site Ready
Everything starts here, and it's the step people are most tempted to rush. Mark out the driveway area, then dig out the existing soil to a depth of roughly 8 to 12 inches, the exact number depends on your soil type and how much weight the driveway needs to handle. While you're at it:
- Clear out roots, grass, and any other organic debris
- Grade the area so water has somewhere to go
- Compact the exposed soil before adding anything on top
If you skip these steps or execute this poorly, you'll likely see sinking or uneven spots within a matter of months not years.
Step 2: Build a Solid Base
The base layer is doing the real structural work here. Spread crushed stone in 2-3 inch layers, compacting each one with a plate compactor before adding the next. You're aiming for a total base depth of about 6 to 8 inches for a typical residential driveway.
If you're in an area that sees a lot of rain, it's worth going a bit thicker than the minimum, contractors in wet climates routinely add extra base depth just to keep water from undermining the structure later.
Step 3: Lay Down the Bedding Sand
Once the base is compacted, spread a layer of bedding sand about an inch thick and screed it level. This is what the pavers will actually sit on, so getting it flat matters.
One Thing Worth Remembering
don't walk on it once it's leveled. Footprints create low spots, and low spots turn into uneven pavers.
Step 4: Place the Pavers
This is the step that finally makes the project look like something. Work outward from one corner, keeping your spacing consistent as you go. A few common layout options:
- Herringbone - locks together tightly, good for driveways
- Running bond - clean and simple
- Basket weave - more decorative than structural
For a driveway that's going to see regular vehicle traffic, herringbone tends to be the better choice. The interlocking pattern resists shifting under weight better than the alternatives.
Step 5: Set the Edge Restraints
Edge restraints go around the perimeter and get anchored with spikes or concrete. They keep the outer pavers from creeping outward over time. Leave this step out, and even a driveway that looked perfect on day one can start losing its shape within a year.
Step 6: Compact Everything Together
With the pavers placed, run the plate compactor over the whole surface. This seats the pavers into the bedding sand and locks them together, which is a big part of what gives the finished driveway its strength.
Step 7: Sweep in the Jointing Sand
Spread jointing sand across the surface and sweep it into the gaps between pavers. This does more than fill space, it keeps the pavers from shifting, helps block weed growth, and adds to the overall stability of the surface. Polymeric sand has become the standard choice for a lot of installations these days, since it hardens once it gets wet and holds up better over time than regular sand.
Step 8: Walk the Whole Driveway Before You Call It Done
Before you start parking on it, go over the entire surface and check for:
- Uneven spots
- Loose or wobbly pavers
- Whether water is actually draining the way it should
Fix anything you find now, it's a lot easier than digging pavers back up after they've settled.
Mistakes That Cause the Most Problems
Most paver driveway failures trace back to one of these:
- Not compacting thoroughly enough at each stage
- Using cheap or undersized base material
- Ignoring the drainage slope entirely
- Skipping edge restraints
- An uneven sand layer that throws off the whole surface
Insufficient base compaction is probably the single biggest reason why DIY paver driveways fail early. The surface looks fine at first, then starts sinking once the ground beneath it settles.
Keeping It Look Good for Years
Pavers don't ask for much upkeep, but a little attention goes a long way:
- Sweep or rinse the surface periodically
- Top off jointing sand as it wears down
- Pull weeds before they get established
- Seal the pavers if you want extra protection against staining
Take care of it, and a paver driveway can realistically last several decades before it needs any real work.
Final Thoughts
A paver driveway isn't just a matter of arranging stones in a pattern you like. It's a layered process like soil prep, base compaction, sand, pattern, edging, joints. Each step depends on the one before it is done right. Get the foundation right and the rest follows naturally.
For homeowners and contractors who want more detailed guidance on driveway projects, Drivewayz USA offers practical resources and professional insight for planning a new installation or upgrading an existing one.
Frequently Asked Questions
With proper installation and upkeep, most paver driveways last somewhere between 25 and 50 years.
For most homeowners, yes, they flex instead of cracking, they're easier to repair section by section, and they generally handle weather extremes better than a poured slab.
It's optional, but sealing does help protect against staining and keeps the color looking fresh longer.
It's doable if you're willing to put in the work, but professional installation is usually the safer bet. Most failures trace back to base preparation, which is easy to underestimate.
Base preparation and compaction, without question. Everything else sits on top of that foundation, literally and figuratively.