
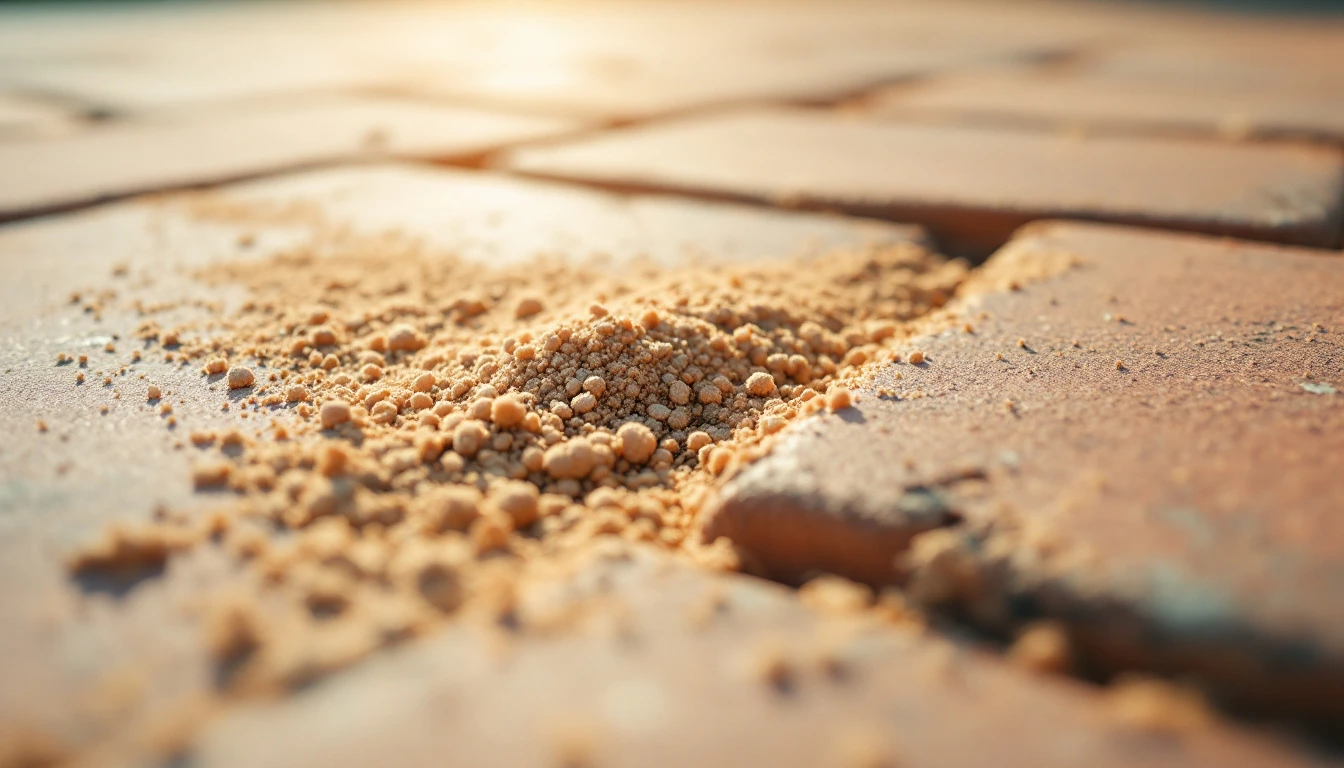
Most people never think about the sand between their pavers until it's gone. All the attention goes to the pavers themselves — how clean they look, whether they're cracked — while the material packed into the joints quietly does the work of holding the whole thing together. Once that sand disappears, though, you start seeing the consequences: gaps opening up, weeds pushing through, pavers that used to feel rock-solid starting to wiggle underfoot. The good news is that replacing joint sand isn't a huge job, as long as your driveway's base is still sound. But it's also not as simple as dumping fresh sand on top and calling it done. You've got to pull out what's left of the old stuff, get the joints properly cleaned, pick a sand that actually fits your situation, and then install and compact it under the right conditions, otherwise you're just going to be doing this again next season.
Why This Sand Matters More Than You'd Think
A paver driveway is basically thousands of individual pieces relying on each other to stay put. That sand in the joints is what keeps them locked together and stops them from shifting sideways every time a car rolls over them.
Sand doesn't just vanish overnight. It gets worn away gradually through rain, weeds working their roots in, foot and vehicle traffic, and regular cleaning. Pressure washing is a particularly sneaky culprit: if you're not careful with the settings, you can blast years' worth of joint sand out in a single afternoon.
Once the joints go empty, water and debris have an easy path in, weeds get a foothold, and the pavers lose the interlocking grip that kept them stable in the first place.
How Do You Know It's Time?
There's no fixed timeline here. It really comes down to keeping an eye on things. Watch for:
- Joints that look empty or noticeably shallow
- Weeds sprouting between the pavers
- Loose sand piling up at the bottom of the driveway
- Pavers that rock or shift slightly when you walk on them
- Gaps widening between neighboring pavers
- Sand washing out after a heavy storm
- Joints losing sand right after a cleaning
If the pavers themselves are sunken, cracked, or knocked out of place, fresh sand won't fix that. Sunken or displaced pavers usually point to a problem below the surface — bedding, base, or drainage — and that needs to be diagnosed before new sand goes in. Depending on what turns up, the fix can involve lifting the affected pavers, correcting the base, and resetting them.
Picking the Right Sand
Not all joint sand is created equal, and the choice matters more than people expect.
Regular Jointing Sand
This is the traditional option — you sweep it in, compact it, and you're done. It works fine for systems that were designed with standard sand in mind, but it's also the type most prone to washing or blowing away, especially if drainage is poor or the area gets cleaned often.
Polymeric Sand
This is the upgrade most homeowners reach for these days. It's mixed with binding additives that activate with water, giving you a firmer, more weed-resistant joint once it sets. It demands more careful installation: the joints have to be clean and dry, and you need to follow the manufacturer's process closely. Any leftover material has to be swept off the paver surface before you add water, or you'll be dealing with a haze that's a pain to remove. Don't assume every polymeric product installs the same way — check the label, because instructions vary by brand.
The Actual Process
- Walk the whole driveway first: Before you touch anything, check for loose pavers, low spots, cracked edges, and drainage issues. If it's purely a sand problem, you're good to proceed. If pavers are moving because the base has failed, fix that first.
- Strip out the old sand: Sweep off leaves, dirt, and any plant growth. For anything more stubborn, use whatever removal method your paver manufacturer recommends. If you're pressure washing, keep the angle and pressure in check. You want to clear out the deteriorated sand, not blast the pavers or churn up the base underneath. Pay extra attention to corners and low points, where old debris tends to settle.
- Clean out the joints properly: With the old material gone, get in there and remove weeds, roots, and any remaining debris. The joints need to be clean and deep enough to actually hold new sand. This is also a good moment to check for settling: if one area sits noticeably lower than the rest, don't just bury it in sand. Figure out why it's sinking first.
- Let everything dry out: This step matters a lot if you're using polymeric sand. Leftover moisture in the joints can mess with how the material settles and may stop it from activating correctly. Check your product's instructions for moisture and weather guidelines, and don't start the job if rain's in the forecast.
- Sweep the new sand in: Work in manageable sections. Use a stiff broom and go at it from multiple angles to really push the sand down into the joints. You're not just trying to dust the surface — you want the gaps filled. Slow down around curves and edges where joint widths tend to shift.
- Compact it down: Compaction pushes the sand deeper and helps it settle properly. Use whatever equipment your paver and sand manufacturer recommends. Some jobs need a few rounds of sweeping and compacting before the joints are truly full. Check back afterward and top off any spots that settled lower than the rest.
- Sweep off the excess: Especially critical with polymeric sand — any loose material left sitting on the paver surface needs to come off before you add water, because once it binds, it's much harder to remove.
- Activate it correctly (polymeric only): Follow the watering instructions correctly. Too little water and it won't activate properly; too much pressure and you'll wash material right back out of the joints. Work steadily and avoid letting water pool anywhere on the surface.
Mistakes That Turn a Simple Job into a Repeat Job
A few shortcuts tend to cause the most trouble. Sweeping new sand over joints that are still dirty or only half-cleaned is the most common one, and it never bonds properly. Using a product that isn't matched to your paver system or joint width is another issue.
Overly aggressive pressure washing can undo your own work by stripping out more sand than intended. And if there's real movement or settling happening in the driveway, no amount of sand is going to fix that because you're treating a symptom, not the cause. Weather plays a role too. Rain right after installation can wreck certain jointing products, while conditions that are too dry can interfere with curing just as easily.
When It's Time to Call in a Pro
Joint sand replacement is a solid DIY project when the pavers and base are in decent shape. But if you're seeing widespread settling, serious drainage problems, large sections of rocking pavers, damaged edge restraints, or sand that keeps disappearing no matter how many times you redo it, that's your sign to bring in someone with more experience.
Repeated sand loss in the same spot usually points to something deeper: poor grading, water movement, unstable bedding, or a base that's starting to fail. No amount of fresh sand fixes that on its own.
Final Thoughts
A paver driveway is only as strong as what's supporting it from below. Joint sand might seem like a minor detail, but it's doing more work than that: holding pavers in place, keeping weeds out, and preserving that clean, level look.
Treat joint sand replacement as routine maintenance, not a cosmetic touch-up. Inspect regularly, clear out what's deteriorated, clean the joints thoroughly, choose sand that actually fits your setup, compact it properly, and stick closely to the manufacturer's instructions if you're going the polymeric route.
For more guidance on driveway installation, upkeep, materials, and repairs, Drivewayz USA has homeowner-focused resources to help make these decisions easier.
Frequently Asked Questions
There's no set schedule; it depends on wear. Replace it once the joints look visibly empty, shallow, or no longer support the pavers properly.
If the existing sand is still clean and holding up the joints, topping it off can work. But if there's dirt, weeds, or deteriorated material in there, clean it out first.
It generally holds up better than loose sand when it's the right match for your pavers and installed correctly. But it's not automatically the best choice for every driveway. Check compatibility first.
Yes, easily, especially with too much pressure or the wrong technique. Always check the joints after washing and top off wherever needed.
Usually it comes down to drainage, aggressive cleaning, sand that wasn't packed in deep enough, or movement somewhere in the paver system. If it keeps happening in the same spot, look at what's going on underneath rather than just adding more sand.