
You don't need a crew of contractors and a week off work to make your driveway look better. If the slab or the gravel bed underneath is still sound, a lot of the routine stuff like cleaning, patching hairline cracks, freshening up the edges. The trick is knowing where "weekend project" ends and "call a professional" begins.
Which Projects Are Actually DIY-Friendly?
Power-washing an asphalt driveway, touching up a few cracks in concrete, or tossing down a fresh layer of gravel on an established gravel drive, these are different entirely from putting in a brand-new driveway from scratch. Big excavation jobs, serious grading work, drainage overhauls, and any kind of fresh paving belong to the pros. One thing worth remembering before you grab a shovel, call 811 first. It's free, and the national utility-locate service will make sure you're not about to slice through a gas line or cable while digging along your driveway's edge.
1. Give It a Real Deep Clean
This is the easiest win on the list, and the one that makes the biggest visual difference for the least effort. Years of dirt, algae, leaf stains, and old tire marks can make a perfectly functional driveway look like it's falling apart when it isn't.
Start by sweeping off loose debris, then bring in a cleaner made for your specific surface. Concrete and asphalt don't respond the same way to every product, so read the label. A stiff brush handles most concrete jobs fine, and a pressure washer can speed things along, but go easy on it. Blast too hard or linger too long in one spot and you risk stripping away the aggregate or chewing into the binder, especially on older asphalt or concrete that's already showing wear.
Example
Take a ten-year-old concrete driveway, for instance. It might look tired simply because it's dirty, not because it needs resurfacing. A good scrub-down plus a couple of small repairs can completely change how it reads from the curb.
2. Seal Your Asphalt
Sealcoating is a legitimate DIY job as long as the pavement underneath is in decent shape and you actually follow what the sealer's instructions suggests, weather window, cure time, application method, all of it.
Clear off dirt and any stray weeds first, and deal with existing cracks before you seal anything. Sealer isn't a fix for structural problems; it's a preventive layer. If you're staring down big cracks, a scattering of potholes, or a base that's clearly failing, that needs an actual evaluation before you even think about a topcoat.
Why Bother with Crack Maintenance at All?
Because water that sneaks into pavement cracks is what starts the real damage. The Federal Highway Administration lists crack sealing as one of the standard preventive treatments precisely because it keeps water and debris from working their way into the pavement.
3. Patch the Small Cracks
Small, isolated cracks are one of the more satisfying DIY repairs. They are cheap, quick, and effective if you do it right.
Asphalt cracks call for an asphalt-specific filler. Concrete needs something formulated to handle outdoor exposure and the natural expansion and contraction of the slab. Either way, the prep matters more than the product:
clear out loose debris and any vegetation, clean the crack per the product's directions, let it dry if it needs to, then apply the filler carefully. Slapping filler over a dirty or unstable crack is basically wasting your afternoon.
Plenty of homeowners spend a single Saturday knocking out several small cracks on an otherwise healthy driveway. That's preventive maintenance working exactly as intended. But if the cracking traces back to serious settlement, tree roots pushing things around, or a structural issue underneath, that's not a filler-tube kind of problem anymore.
4. Tackle Oil and Automotive Stains
Anywhere a car parks regularly, oil stains are pretty much inevitable. Catch spills early if you can. An absorbent material soaks up the excess before you go after what's left with a proper driveway cleaner. Resist the urge to improvise with random solvents or mix cleaning products together. Some of those combinations can eat into asphalt, discolor concrete, kill your landscaping, or send something nasty down the storm drain.
And if a stain's had time to really soak in, don't expect a miracle. DIY cleaning will usually fade it noticeably even when it can't erase it completely. That's a perfectly reasonable outcome. The goal is improvement, not perfection, without wrecking the surface trying to get there.
5. Sharpen Up the Edges
The middle of the driveway gets all the attention, but crisp edges do more for curb appeal than people give them credit for. On a gravel driveway, simple edging keeps stone from migrating into the lawn or flower beds. Pavers, decorative stone, or a strip of landscape edging can also draw a much cleaner line between the driveway and the rest of the yard.
Just remember, anything involving digging along that edge still means calling 811 first and checking whatever local rules apply. A shallow decorative border is a completely different project from building a retaining wall or reshaping how water moves across your property, and it's the kind of job that stays firmly in DIY territory.
6. Freshen Up Concrete with Stain
Staining is a solid way to change the look of a concrete driveway without tearing it out and starting over. Water-based stains tend to let some of the concrete's natural texture show through, while other coatings go for a more uniform, painted look. Whichever direction you go, pay attention to compatibility, surface prep, weather conditions, and how much traffic the area sees. Clean thoroughly before applying anything, and follow whatever prep steps the manufacturer specifies. One easy mistake:
coating over expansion and control joints in a way that stops them from doing their job. And if the concrete is new, give it the full cure time the product calls for, that matters more than whatever general rule you've heard elsewhere.
7. Top Off a Gravel Driveway
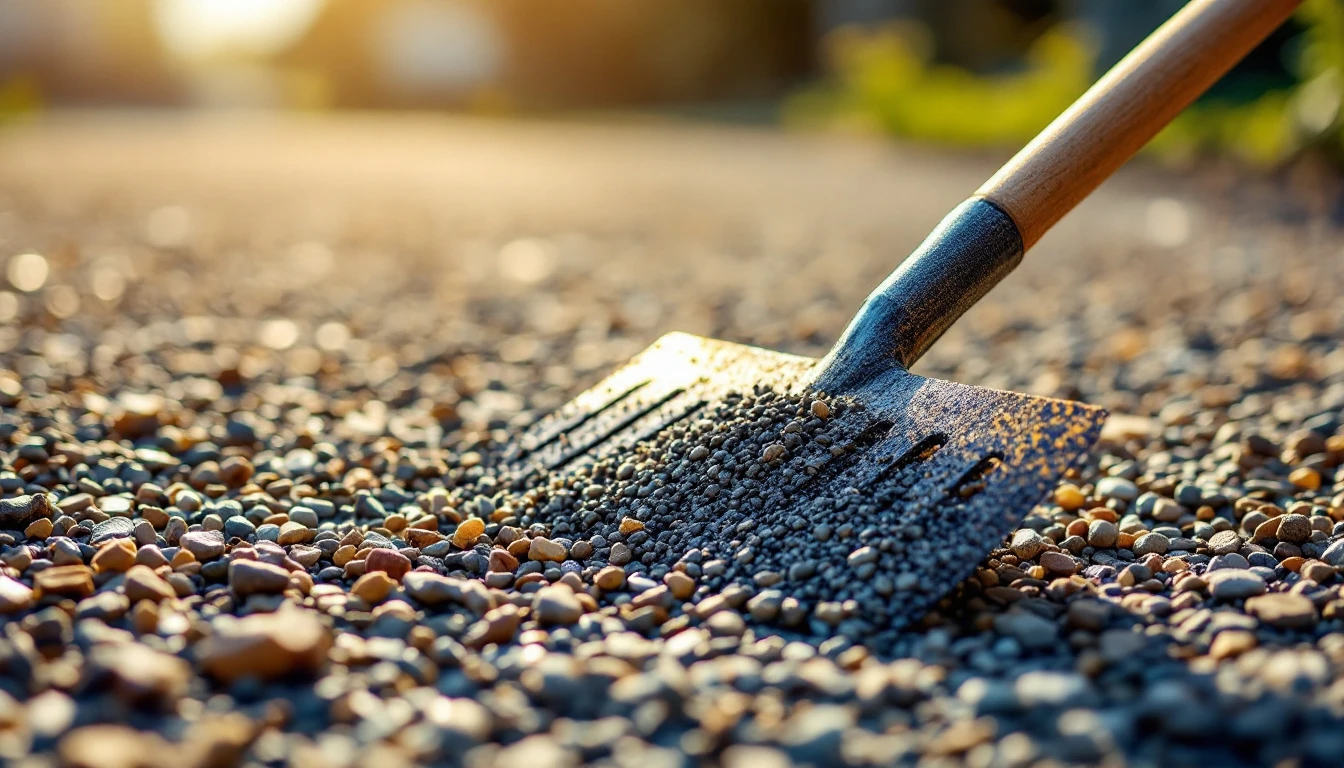
Gravel driveways shed material constantly with traffic, rain or displacement, so a fresh layer of aggregate now and then is just normal upkeep. Measure the area before you order stone. Overbuying gravel is an easy and expensive mistake. Spread it evenly and compact it properly rather than just dumping and driving over it.
The type of stone matters too. A properly graded aggregate with the right mix of fines compacts into a stable surface, while loose decorative rock tends to just roll around under your tires and never really settle.
8. Add Some Purely Cosmetic Touches
Not every project needs a functional justification, sometimes you just want it to look nicer. A painted border on suitable concrete, some landscaping around the edges, a clean transition between driveway and walkway, even a basketball court marking if conditions allow. Just use paint for exterior pavement, apply it to a properly prepped surface, and steer clear of anything that makes the surface slicker or messes with drainage.
9. Think Twice Before Changing Drainage
Drainage is where DIY enthusiasm needs to meet a little caution, because your driveway is part of a bigger water-management system for your whole property.
Permeable pavers let water pass through the surface into a stone reservoir underneath, cutting down on runoff. The EPA points to these systems as a real stormwater management tool, but they only work when the soil, drainage needs, and structural layers underneath are designed correctly for the site.
That means cutting a strip out of your existing driveway and dropping in permeable pavers isn't a casual cosmetic upgrade. Get it wrong and you could send water toward a neighbor's yard, your own foundation, or trigger erosion you didn't see coming. If water's pooling on your driveway on a regular basis, that's a sign to call in someone who can diagnose it properly, not reach for a quick fix.
When to Call a Contractor?
DIY works well when the problem is contained and you understand exactly what's causing it. Once you're looking at major settlement, widespread cracking, structural failure, drainage issues, significant regrading, or a full replacement, it's time to bring in a professional.
And if you do hire someone, get a written scope of work, clear material specs, agreed payment terms, and take photos of the existing condition before anything starts. It's a small amount of effort that heads off a lot of potential arguments later.
Knowing what not to DIY is honestly just as valuable as knowing what you can handle.
A Simple Seasonal Maintenance
- Spring - clean the surface, check for new cracks, look at how water's draining.
- Summer - deal with stains, weeds, edge wear, and any surface treatments that are due.
- Fall - stay ahead of leaves and debris before they pile up.
- Winter - use deicers made for your driveway's material, and avoid scraping aggressively enough to damage the surface.
DIY vs. Professional
The most sensible DIY driveway projects share a few traits. They're small, controlled, and focused on upkeep or appearance rather than structure. Cleaning, minor crack repair, stain removal, edge work, and gravel top-offs all fit that description comfortably. Full installations, structural repairs, major drainage work, excavation, do not.
Before You Start Anything, Ask Yourself Three Quick Questions
Is this cosmetic? Can I do it without touching the driveway's structural base? Do I actually understand the material and the safety considerations involved?
If you answer no to any of those, it's worth a call to a contractor. It'll likely save you time and money compared to fixing a DIY attempt gone sideways.
Final Thoughts
The best driveway projects to tackle yourself aren't necessarily the flashiest ones. Cleaning, crack maintenance, stain removal, a gravel top-off, cleaner edges. These small moves add up to a driveway that looks better and holds up better, without the cost of tearing everything out and starting over.
The real skill is telling maintenance apart from construction. The moment a project touches the foundation, the drainage, the grading, or how the driveway performs structurally, that's when professional experience stops being optional and starts being worth every penny.
Frequently Asked Questions
For a lot of routine issues, yes, cleaning, small crack repairs, stain removal, edge upkeep, and gravel replenishment are all manageable. Anything structural deserves a professional look first.
Usually, as long as the asphalt is structurally solid and you stick to the sealer's instructions for prep, weather, application, and curing. It won't fix pavement that's already failing underneath.
Major settlement, widespread cracking, drainage failures, base problems, large excavation jobs, and new paving or concrete installation are all better left to people who do this for a living.
Yes, it's one of the more approachable projects on this list. Just measure carefully, grade it properly, spread evenly, and compact it well.
When you can't pin down what's causing a problem, when water is pooling or eroding your property, or when the fix clearly involves structural repair, major grading, drainage changes, or a full replacement.